Overview
This tutorial provides a simple walkthrough to set up the Eleventy development environment and create a simple site. This article was written with a slant towards Visual Studio Code as the development editor. If you are using something else (Atom, Sublime, etc.) you will need work out the steps for your environment.
(All source code is available at Github )
Setting up the Environment
Eleventy requires several tools to be installed before you can begin to work with the static site generator. See the Development Environment Setup article for those details. You can skip the step for sending your email to the technical lead because the Git repository used for this example is a public repository.
Cloning the Git Repository
The following instructions are for Visual Studio Code. If you are using a different editor, you will need to work out what steps work for your environment.
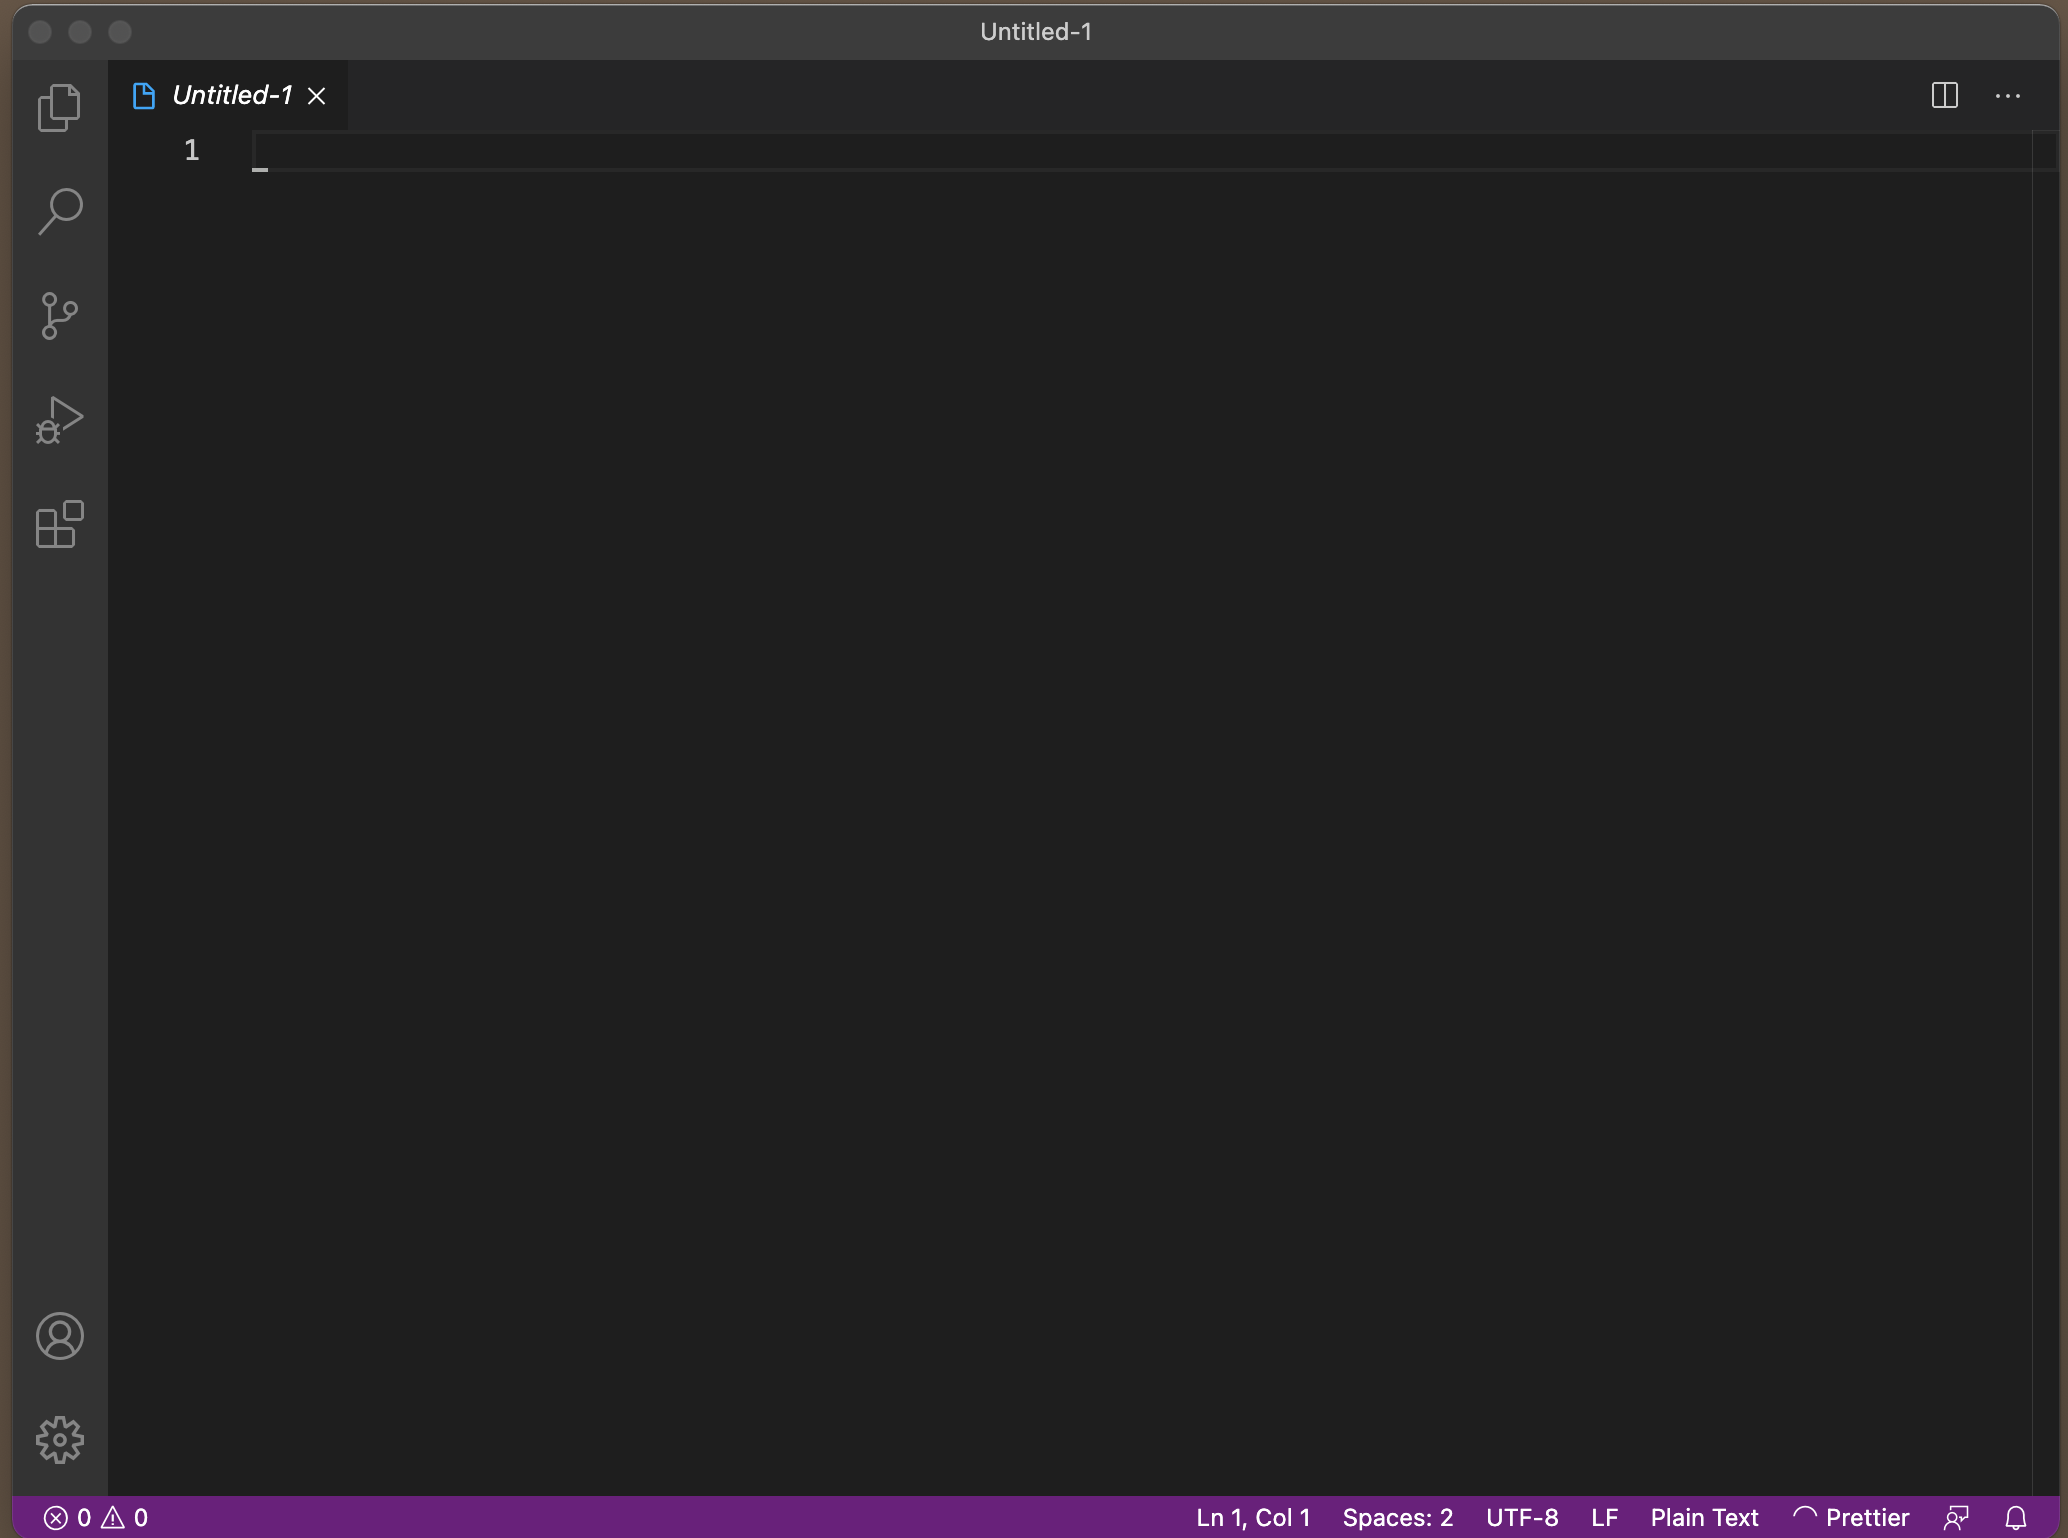
1. Open Visual Studio Code.

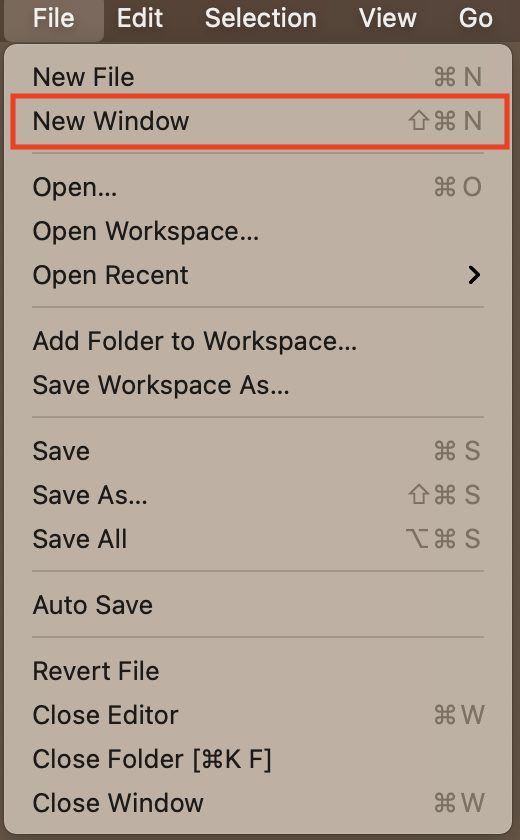
2. Click the File Menu to open a new window
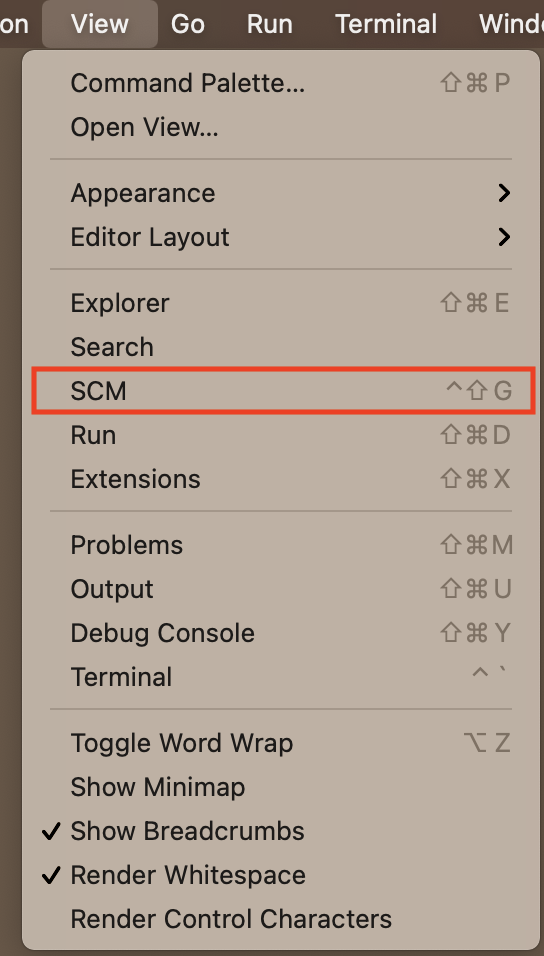
3. From the View menu, click the SCM men
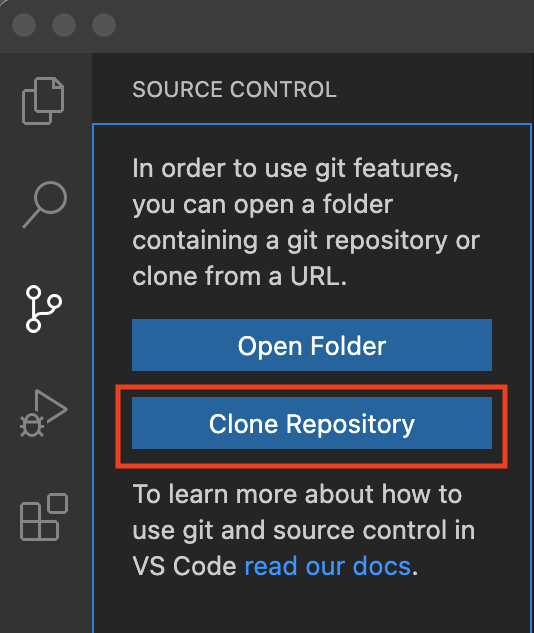
4. Click the Clone Repository Button
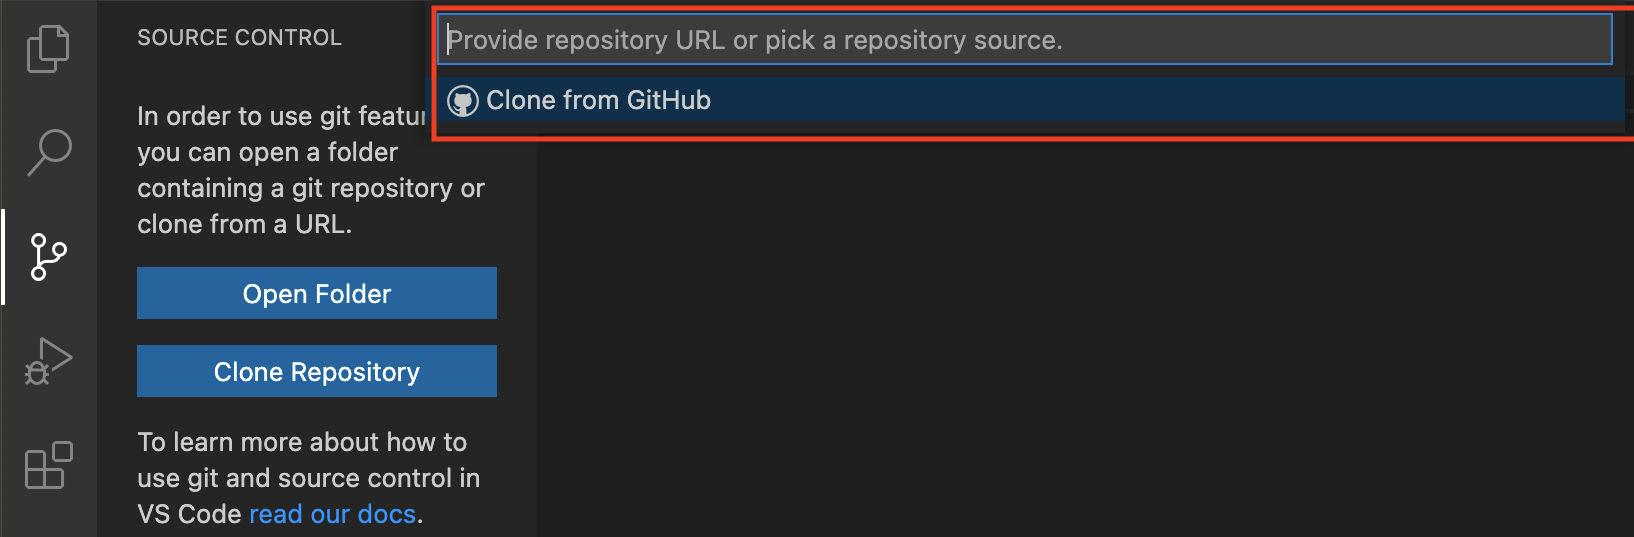
5. You should now see a control at the top of the editor. Click the Clone from Github option.
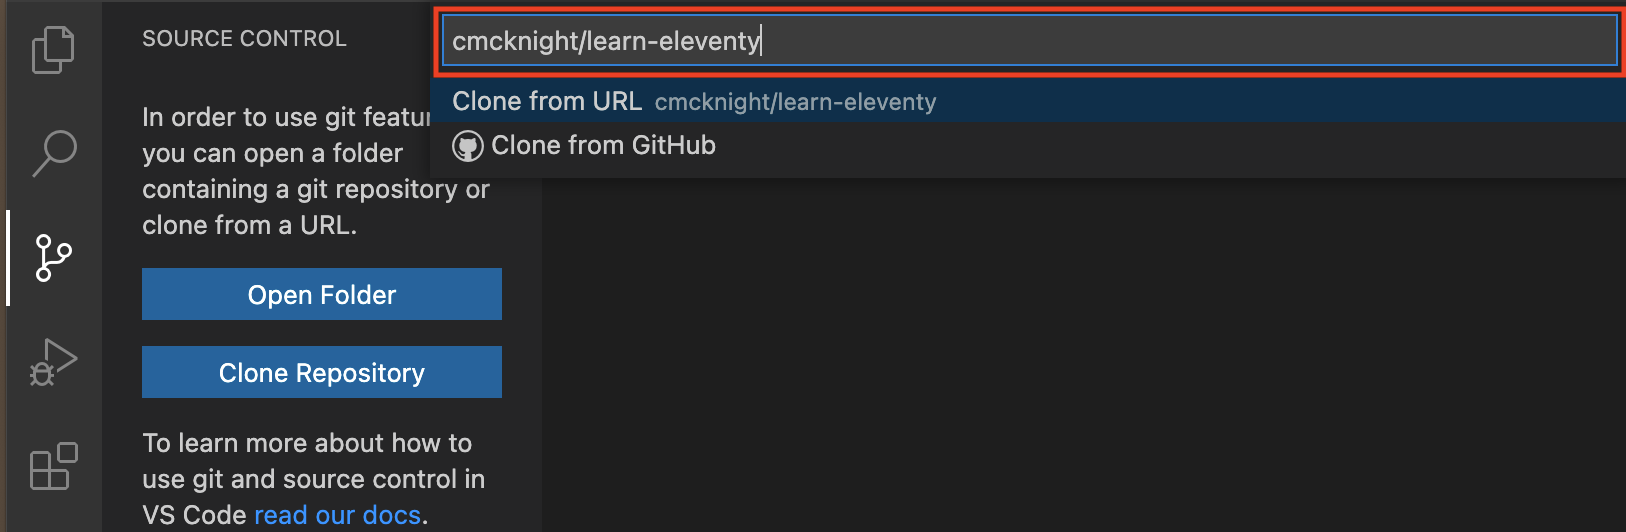
6. Select the cmcknight/learning-eleventy Repository
Type: cmcknight/learning-eleventy in the clone repository field.
7. Open Cloned Repository in Same Window
You will now see the following dialog at the bottom right of the Visual Studio Code window:
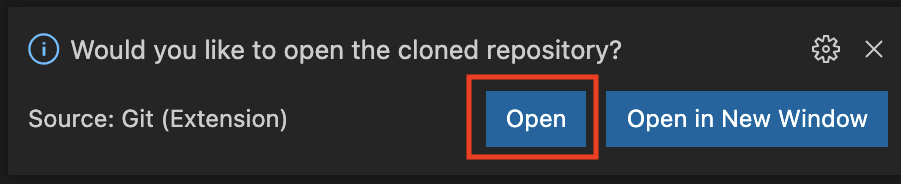
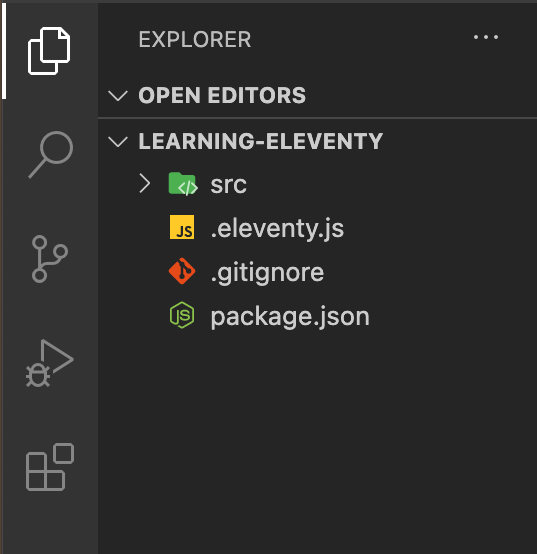
Click the open button shown in Figure 7 to open the newly cloned repository in the current Visual Studio Code window. You should see the following screen (or something that closely resembles it).
Eleventy Projects
Eleventy is relatively unopionated with regard to how you wish to organize your project, the template language used, etc. While this provides great flexibility, it can be overwhelming at times. Therefore, it is recommended that projects have a structure that resembles the following:
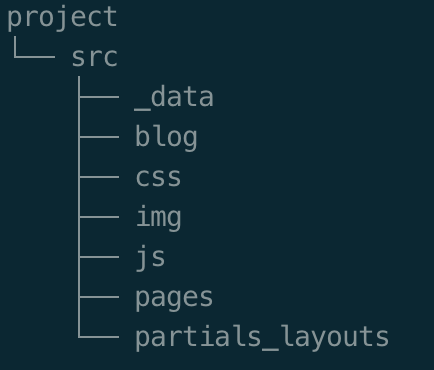
However, this should not be taken as an end-all / be-all file structure because each projects has its own needs. Also note that Git does not archive empty folders, so the following folders are not present in the Github repository.
- _data - any data required by the project
- blog - blog post files
- js - Javascript files
- pages - web page files
- partials_layouts - component and page layout files
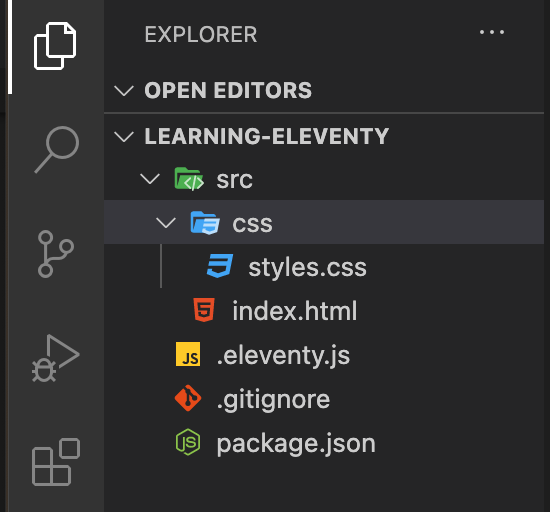
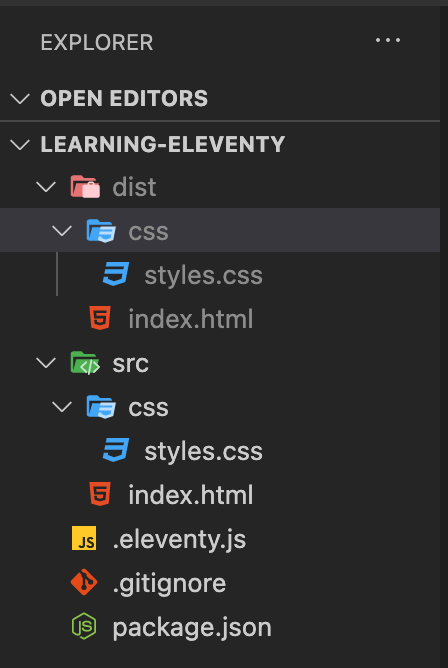
Click on the right chevrons (>) for the src and css folders. You should see something that resembles Figure 10:
Building the Project
You will need to open a live terminal in Visual Studio Code so that you can compile the current code and then launch the live reload server.
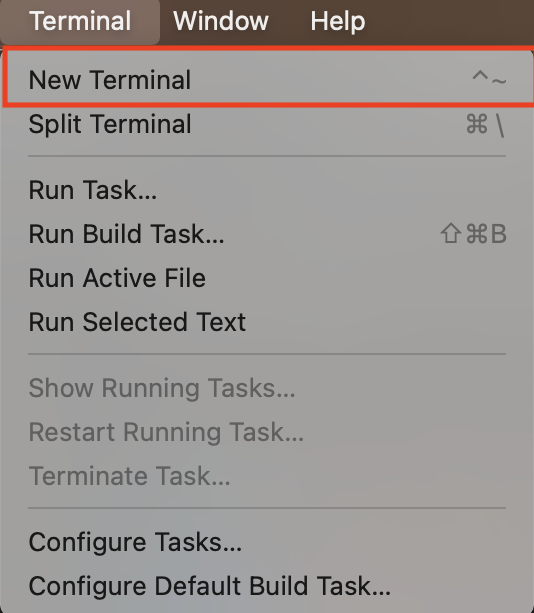
1. Open the Terminal Menu and click New Terminal.
You should see a pane open at the bottom of the window:

2. Perform the first build of the Site
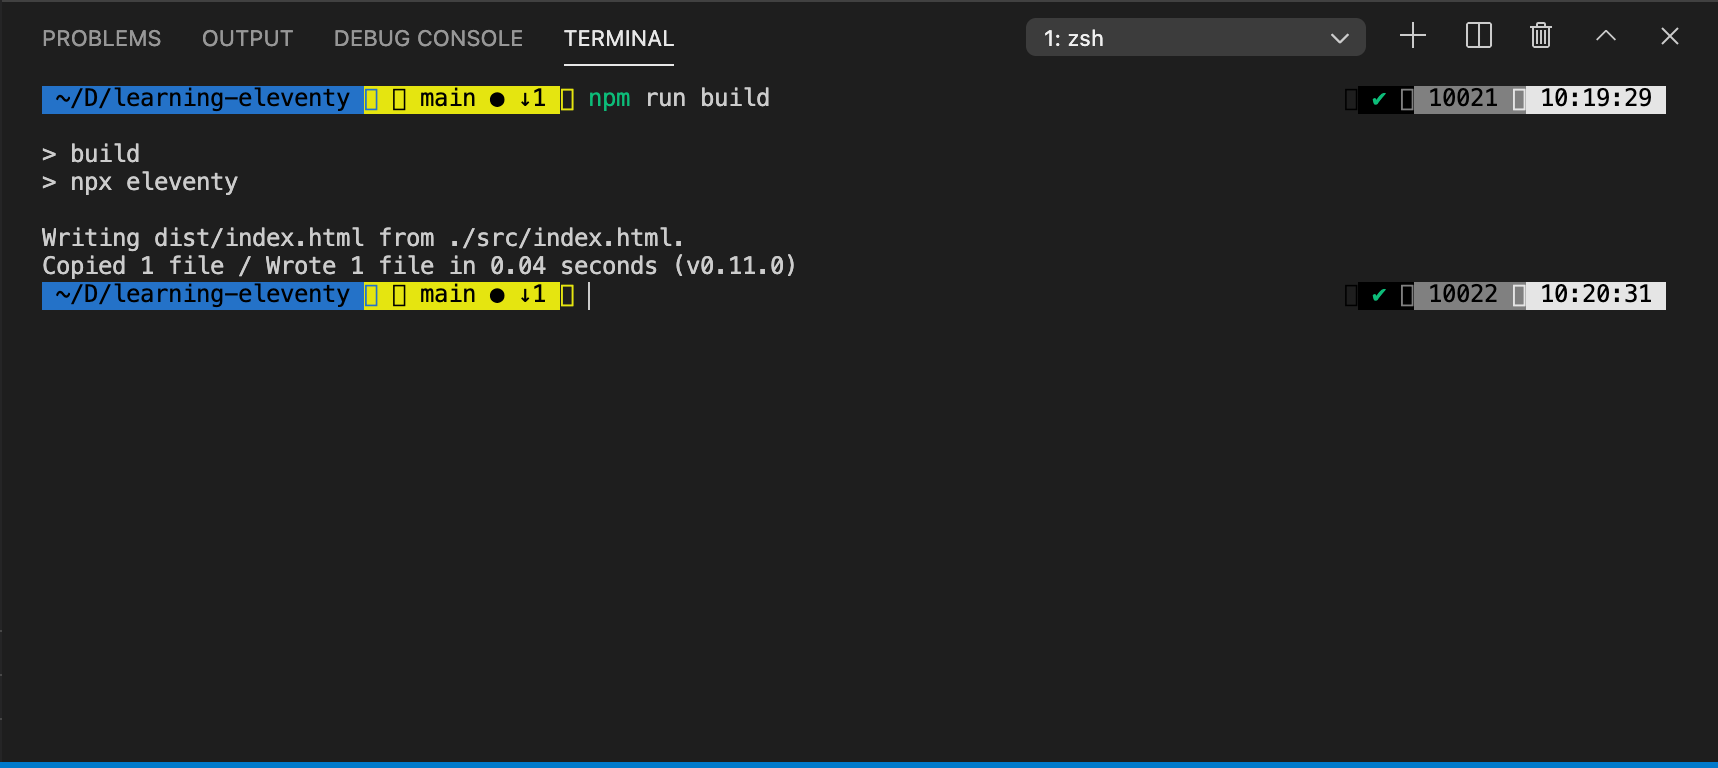
In the live terminal, enter npm run build and tap the Enter key.

You should see the following:
You should also see a folder named dist in the file structure. Click the right chevron (>) to open it and the css folder within the dist folder.
Running the Live Reload Server
Eleventy packages a built-in web server that will allow you to view the site. The live reload feature has Eleventy watching for changes to any of the source files. If a change occurs, the site will be refreshed automatically. If you are working on a page, you can see the changes you make every time you save the file. This capability is extremly helpful when you are creating content because you can see exactly what is happening without having to constantly start a web server.
NOTE: If there are errors you will see them displayed in the live terminal, so if you are making changes and nothing seems to be happening, check the live terminal to see if any errors have occurred.
To run the live server, you will need to enter npm run dev in the live terminal.
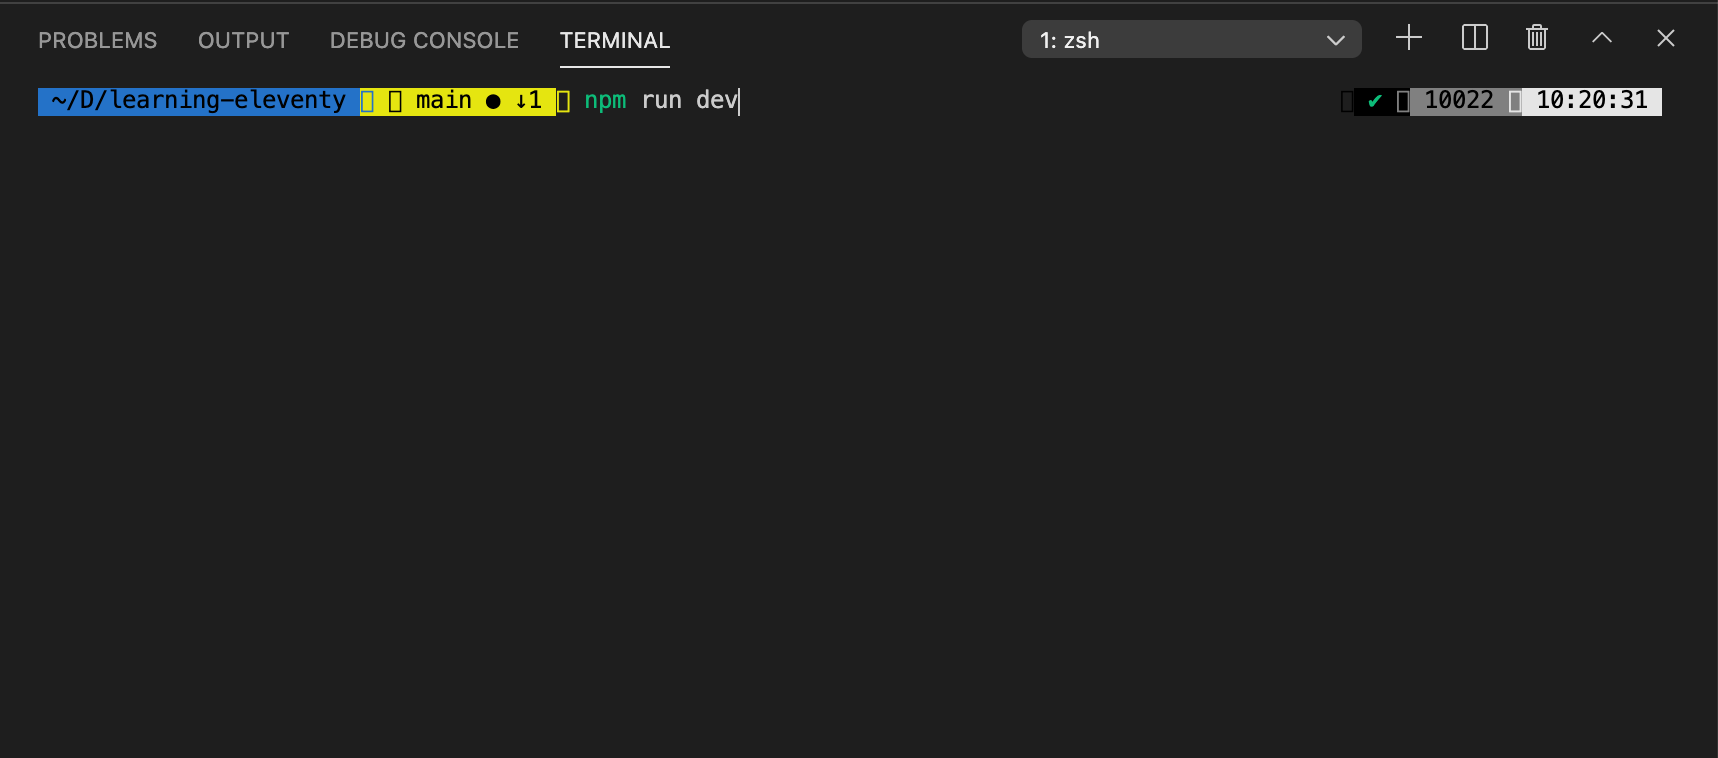
You should now see the following in your live terminal:
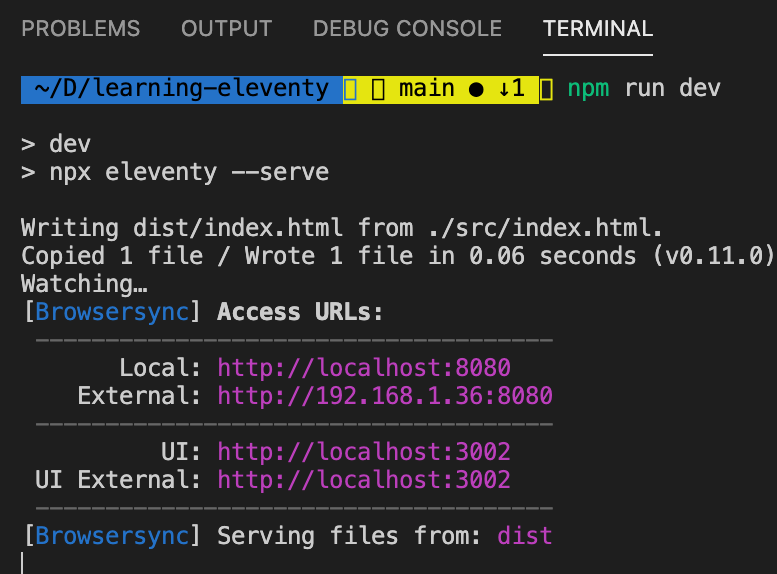
Here's a quick breakdown of what that data means:
| URL1 | Port2 | Description | |
|---|---|---|---|
| Local | http://localhost:8080 | 8080 | Internal web server address for site |
| External | http://192.168.1.36:8080 | 8080 | External web server aaddress for site |
| UI | http://localhost:3002 | 3002 | Browsersync management console internal web server address |
| UI External | http://localhost:3002 | 3002 | Browsersync management console internal web server address |
1 The URL may vary for the External address for the web server. As a general rule, developement is performed against the Local web server although in commercial environments you may find that there is a designated server for all testing.
2 The actual port may vary depending on what else is listening on ports. Eleventy checks to see if the first "public" port is availabe (8080), and increments the port number by one automatically until it finds an open port.
Open your browser and enter the address shown in your live terminal window into the location then tap the Enter key.

You should see the following in your browser:
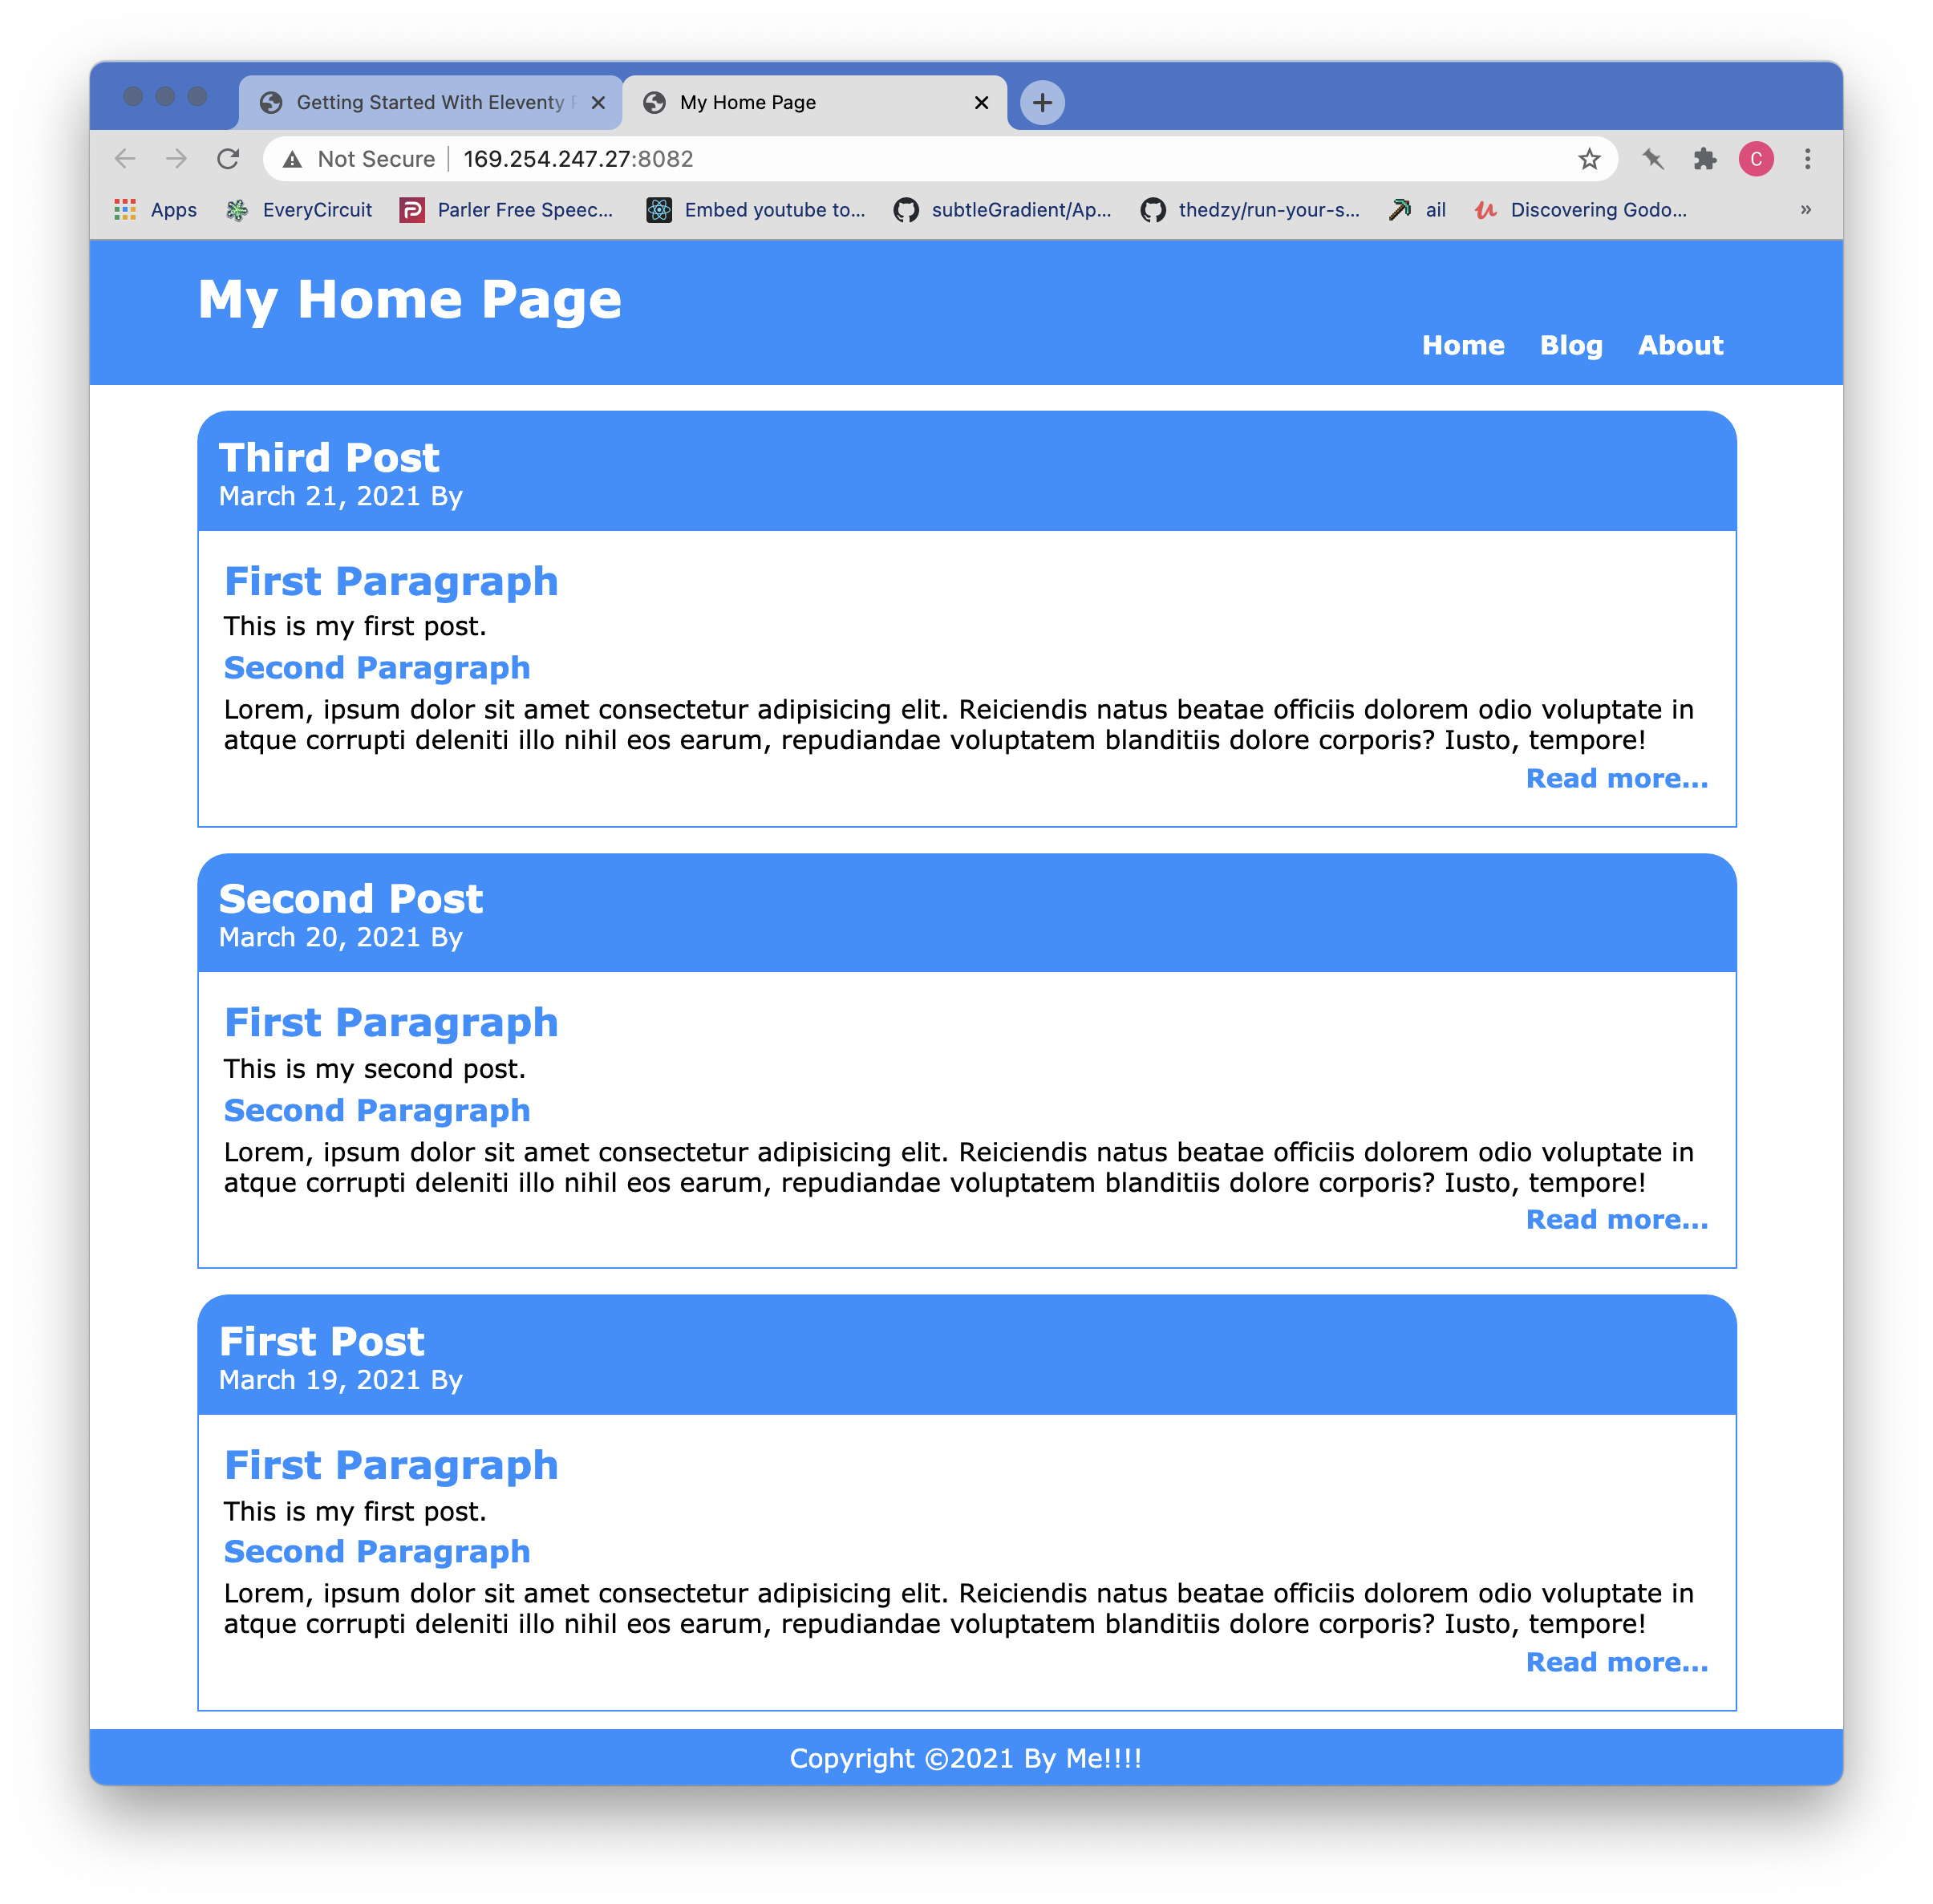
UPDATE The site was restyled for a better appearance and the stylesheet updates are in the repo.
Wrap Up
In this tutorial we have covered the steps necessary to clone a repository from Github and to get the learning project set up, compiled, and running. Part 2 of the tutorial will start with the conversion of the home page into a Nunjucks template.